


First you need Windows 10/11 64 bits as operating system. The installer architecture is only based on 64 bits system.
Obviously, you also need a fresh and legal copy of Skyrim Anniversary Edition or Skyrim Special Edition with the Anniversary Upgrade from STEAM ONLY.
GOG or other versions ARE NOT SUPPORTED!!!
If you have Skyrim already installed, to be safe it's highly recommended you uninstall it and remove manually any files left in the Steam Skyrim folder before continuing.
So in steam if you don't own skyrim yet buy this version

If you already have Skyrim Special Edition, buy the Anniversary upgrade

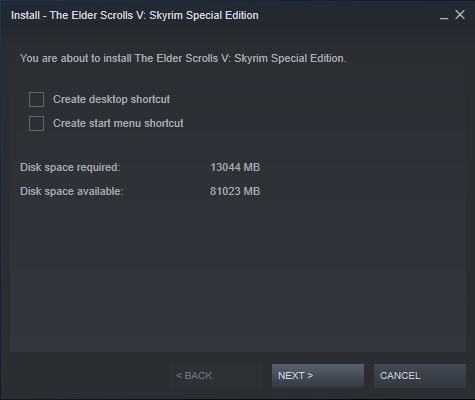
When you have your copy of Skyrim, you can proceed to the game installation by clicking on the install button.
Click on Next
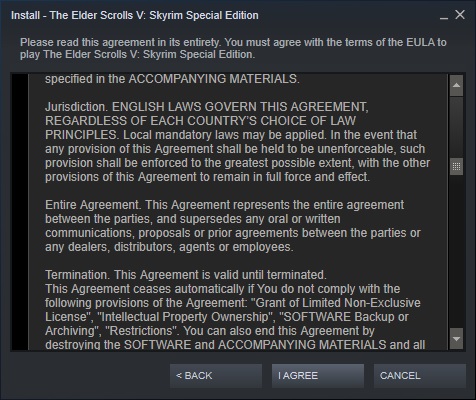
Scroll to the bottom and click I agree
When the game is installed, in steam, right on the game, select properties and DLC
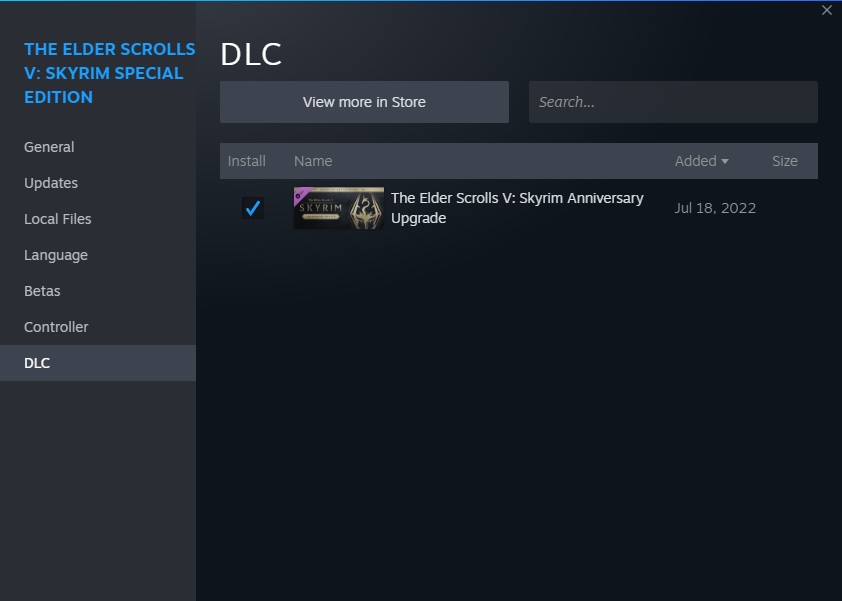
Be sure you have the anniversary content installed
Run the game once from steam and click on the download button when you are prompted
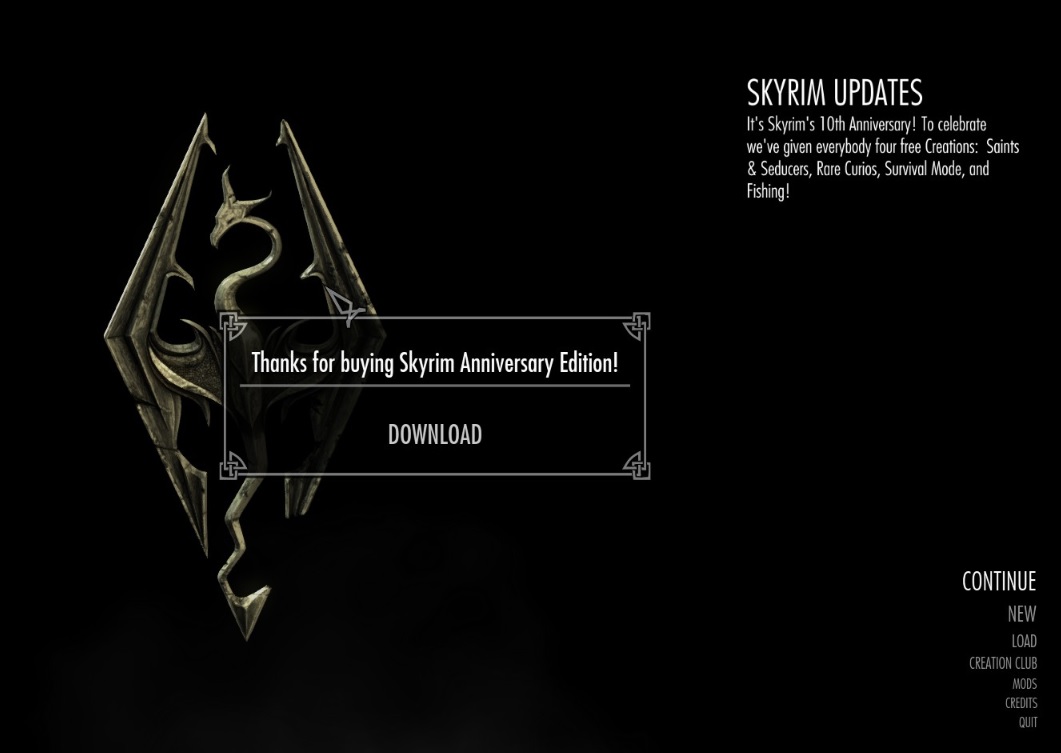
At this stage IT'S REALLY IMPORTANT that all creation club files are installed
If you don't see the Download button, close the game, go into My Documents\My Games\Skyrim Special Edition, delete the 2 Skyrim ini files (if present) and restart the game from Steam
If it still does not work start the game and go into the Bethesda Creation Club shop and install all files manually
DON'T GO FURTHER in this guide if you don't have your Creation Club files installed, i really mean it!!!
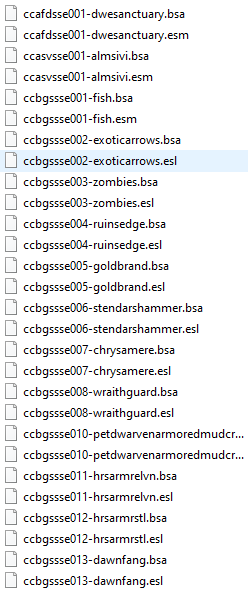
To do a quick check go to your Skyrim Steam installation directory, sub directory Data and check if you have creation club files like these (this is not the full list but you get the idea)
When everything is ok please take note of your Skyrim Steam installation directory, it's REALLY IMPORTANT because you will have to set this path in the auto installer application as we will see further.
Go to the Nvidia Control Panel from Windows Control Panel -> Nvidia Control Panel or from your Windows system tray icons and set the following.
Go to 3D Settings -> Manage 3D Settings -> Program settings tab as shown below